Overview
Multi-Factor Authentication (MFA) adds an extra layer of security to your account by requiring a second form of verification in addition to your password. This tutorial will guide you through setting up two-step verification using an authenticator app.Step 1: Sign In to Your Account
Sign in to your account using username and password like normal. Make sure you’re signed in with the account you want to secure with MFA.Step 2: Navigate to Manage Account Page
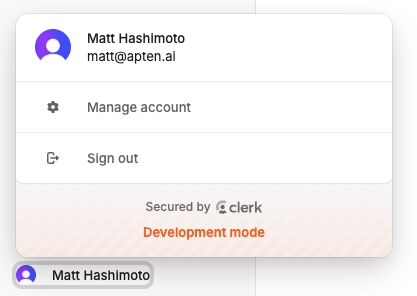
- Click on your profile icon in the bottom left corner
- Select Manage Account from the menu
- You’ll be redirected to your account management dashboard
Step 3: Setup Two-Step Verification
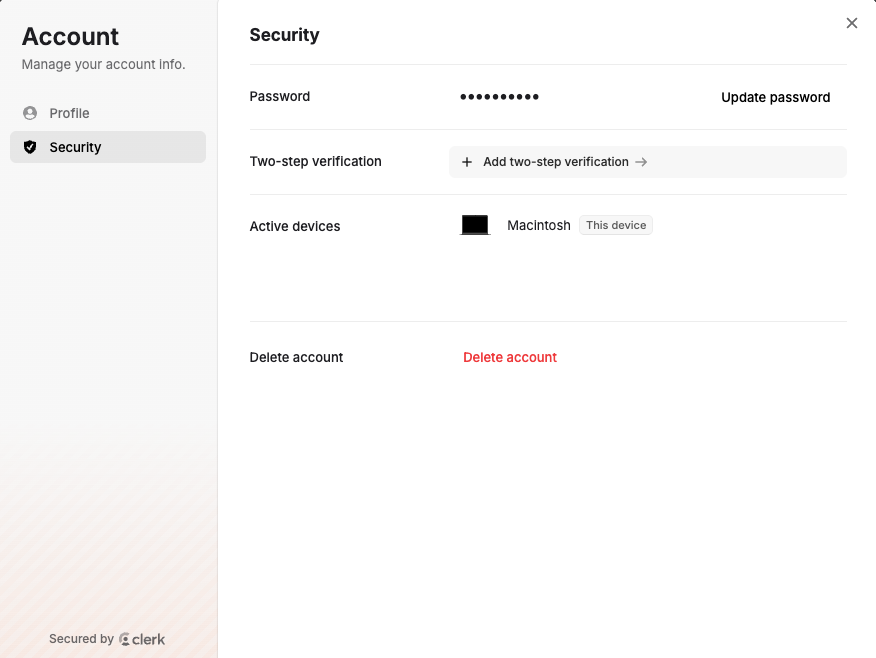
Access Security Settings
- In the account management page, click on the Security section
- Click Add two-step verification
- Follow the prompts to add authenticator app MFA
Save Recovery Codes
- Download Recovery Codes: After successful setup, you’ll be presented with backup recovery codes
- Store Safely: Save these codes in a secure location (password manager, secure note, etc.)
- Important: These codes can be used to access your account if you lose access to your authenticator app
Recovery codes are crucial for account recovery. Each code can only be used
once, so store them securely and don’t share them with anyone.
Managing Your MFA Settings
Disabling MFA (Not Recommended)
- Go to Security Settings
- Find the Two-Step Verification section
- Click Remove
- Confirm your decision (you may need to enter a current MFA code)
Disabling MFA reduces your account security. Only disable if absolutely
necessary, and consider re-enabling it as soon as possible.
How MFA Works Once Setup
- Sign In: Enter your username and password as usual
- Second Factor: Provide a time-based code from your authenticator app
- Access Granted: Successfully access your account with verified identity