Overview
Custom notifications let you define alerts that fire when Apten detects a specific condition during a conversation with a lead. Instead of manually reviewing every conversation, you can have Apten watch for the moments that matter most and notify your team automatically. Common use cases include:- Lead expresses high buying intent or readiness to purchase
- Lead requests to speak with a human
- Lead mentions a competitor
- A compliance-sensitive topic comes up in conversation
How It Works
- Define a notification with a name and a plain-English condition
- Apten monitors every conversation and evaluates your conditions automatically
- When a condition is met, your team is notified via email (and optionally via webhook)
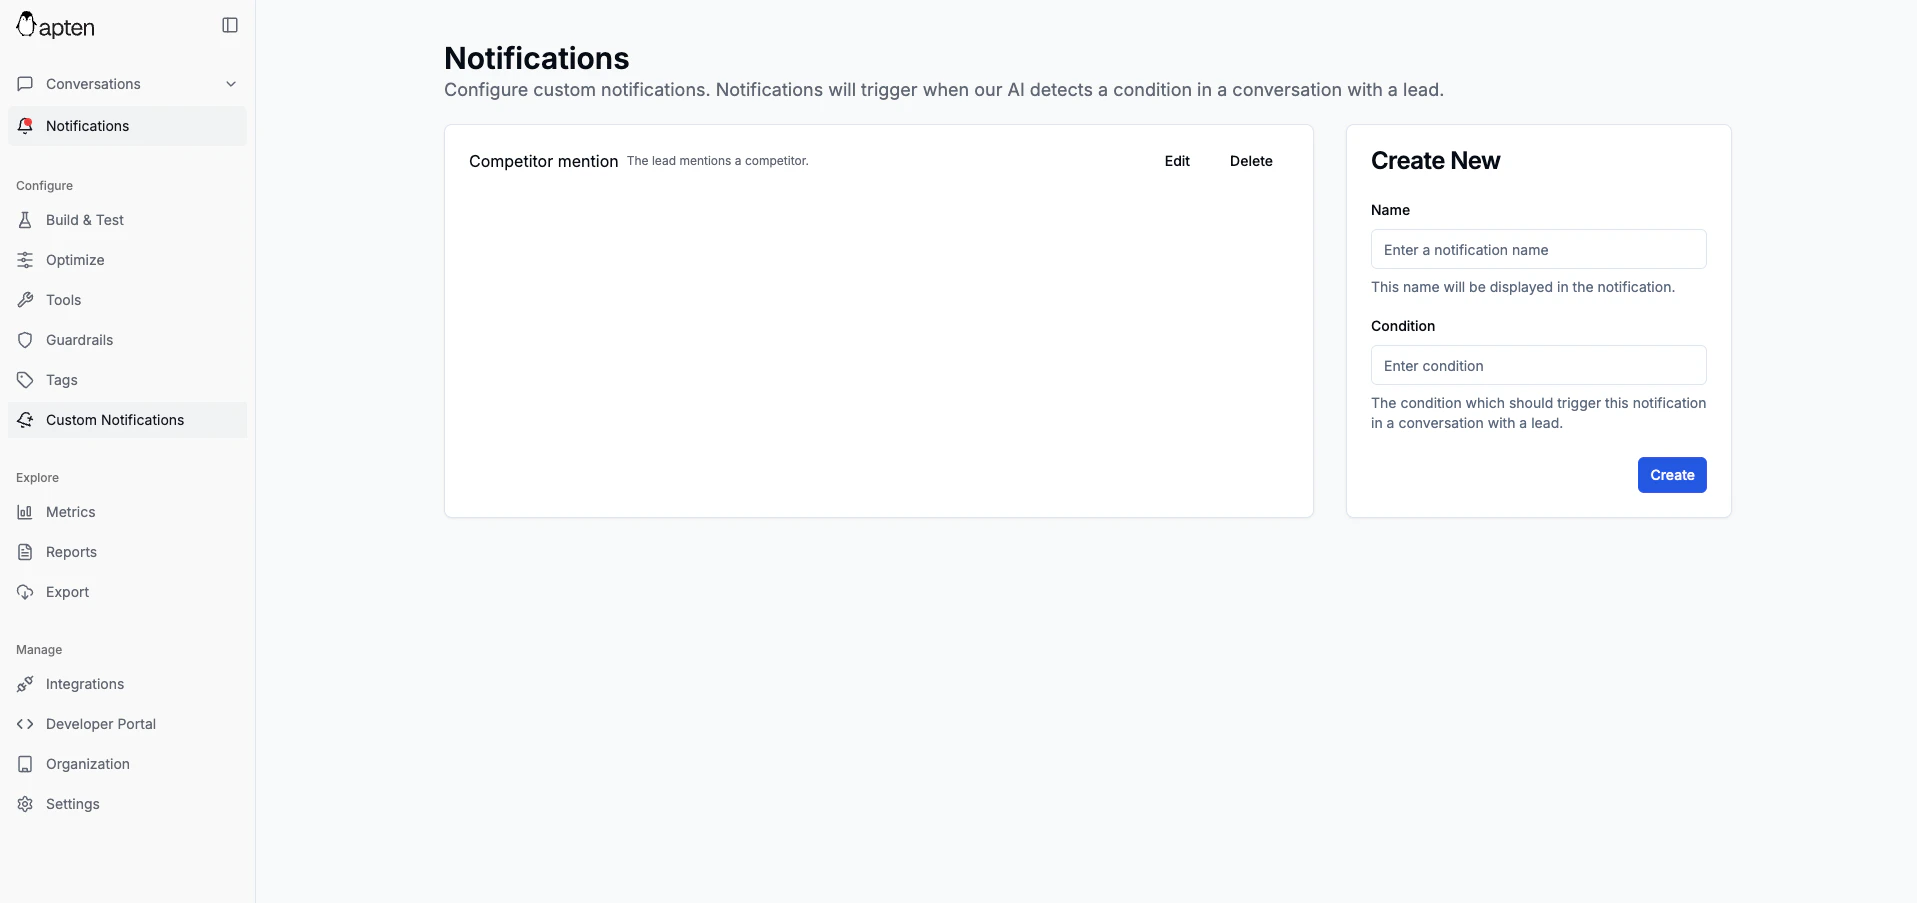
Step 1: Create a Custom Notification
- Navigate to the Notifications page in the sidebar
-
In the Create New panel, fill in:
- Name — a short, descriptive label (e.g., “Demo Request” or “Competitor Mention”)
- Condition — a plain-English description of when this notification should fire
- Click Submit
- “The lead asks to speak with a human or requests a callback”
- “The lead expresses interest in scheduling a demo or meeting”
- “The lead mentions a competitor by name”
- “The lead shares a budget or price expectation”
Only admin users can create, edit, or delete custom notifications.
Step 2: Configure Email Delivery
By default, all notifications are sent to the email addresses configured for your organization.- Go to the Settings page
- Add recipient email addresses in the Notification Emails field
- Optionally, toggle Filter Notifications to choose which specific notifications trigger emails — useful if you only want certain alerts delivered to inboxes
Step 3: Monitor Notification Activity
You can track how your notifications are performing in the Metrics page:- Notification chart — shows how often each notification fires over time
- Events table — lists individual notification events with the lead’s name, phone number, notification type, and the message that triggered it
Managing Notifications
You can edit or delete existing notifications at any time from the Notifications page:- Click the edit icon to update a notification’s name or condition
- Click the delete icon to remove a notification
Best Practices
- Be specific with conditions — “The lead asks about pricing for the enterprise plan” works better than “The lead talks about money”
- Use descriptive names — notification names appear in emails and metrics, so make them easy to identify at a glance
- Start small — begin with 2-3 high-value notifications and expand over time. Too many alerts can cause notification fatigue
- Review metrics regularly — if a notification fires too often, tighten the condition. If it never fires, the condition may be too narrow
- Combine with webhooks — for programmatic integrations, configure a notification webhook to push alerts to your own systems