

Overview
The Lead Management page lets you act on many leads at once. Filter to find the leads you want, select them, and run a bulk action. If you already have a list of lead IDs, you can upload a CSV instead. Available actions:- Turn off leads — stop all outreach to the selected leads
- Switch to no follow-up — stop follow-ups but keep answering replies
- Add context — attach standing facts or instructions to each lead
- Switch profile — move leads to a different profile
- Send message — send a personalized first message
- Import new leads — add leads that don’t exist in Apten yet (CSV only)
Selecting Leads
- Go to Lead Management and stay on the Table tab
- Narrow the list using the Created at date range picker or the Advanced filters button
- Check the leads you want to act on
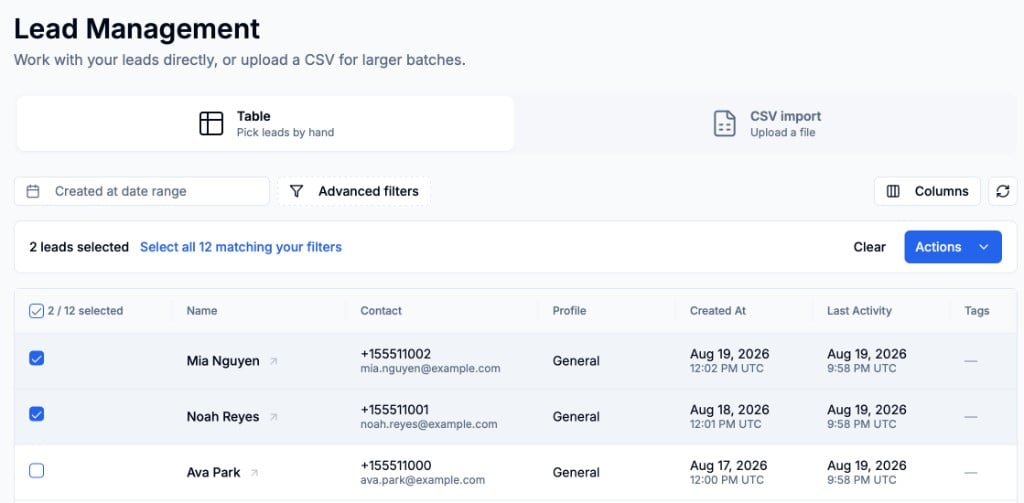
Use Select all … matching your filters for large operations. If your filters match 3,000 leads across 60 pages, all 3,000 are included — you don’t need to page through and check them one by one.
Running an Action
- With leads selected, open the Actions menu above the table and pick an action
- Fill in any details the action needs, such as the context to add or the profile to switch to
- Confirm
If your selection is larger than the limit, narrow your filters and run the action in batches.
Switch to No Follow-Up
Apten stops sending follow-ups to the selected leads and cancels any that are already scheduled. Unlike turning a lead off, Apten still reads and answers their replies.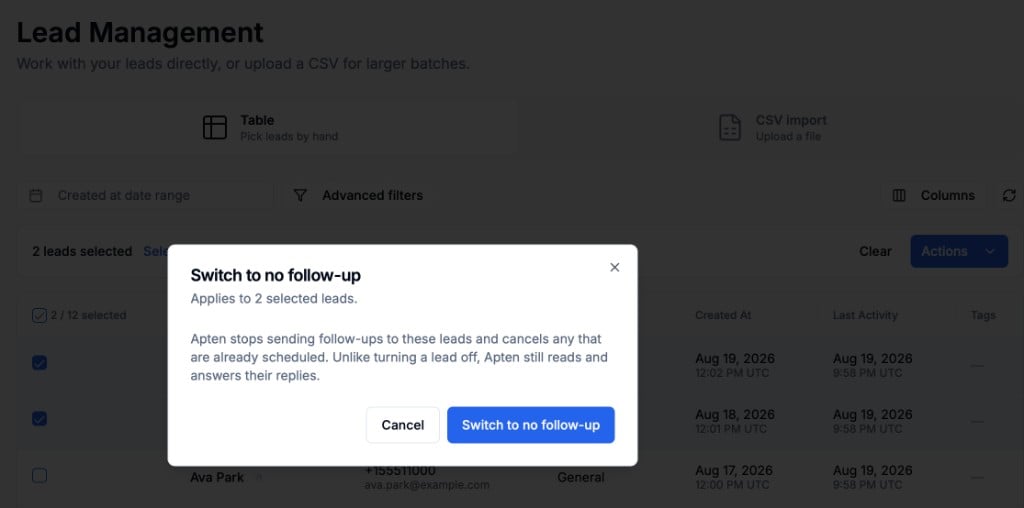
Using a CSV Instead
Every action also accepts a CSV upload, which is useful when your list comes from another system:- Go to the CSV import tab
- Find the action you want and download its template
- Fill in the template and upload it
Import New Leads Across Profile Variants
For a profile with variants, enter the parent profile name in the CSV’s Customer Profile column. Apten assigns each new lead to the base profile or an active variant according to the group’s saved import weights.Exporting Leads
The Export Data page uses the same table, filters, and selection. On the Leads tab, narrow and select the leads you want, then click Export.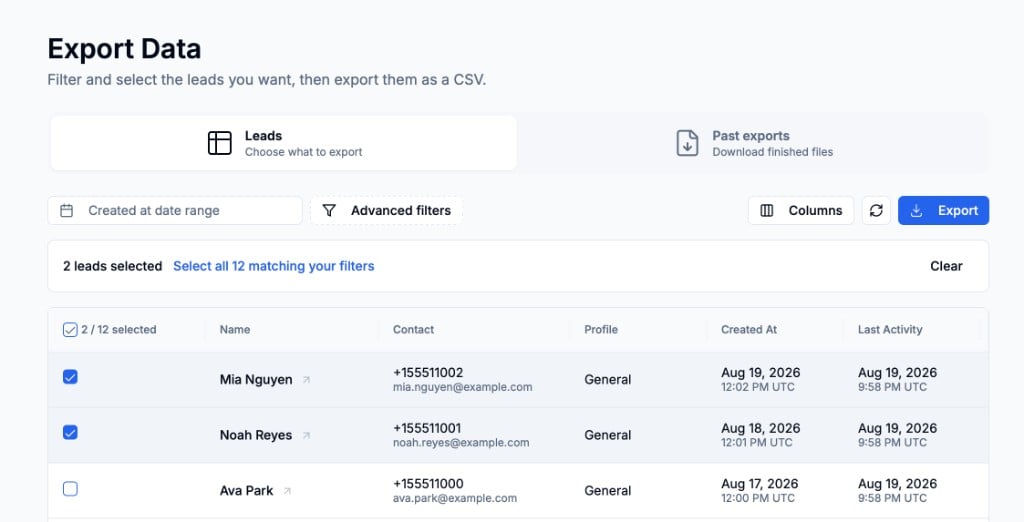
- Current filters — every lead matching your filters and date range
- Selected — only the leads you checked
- All leads — every lead in your organization, ignoring filters
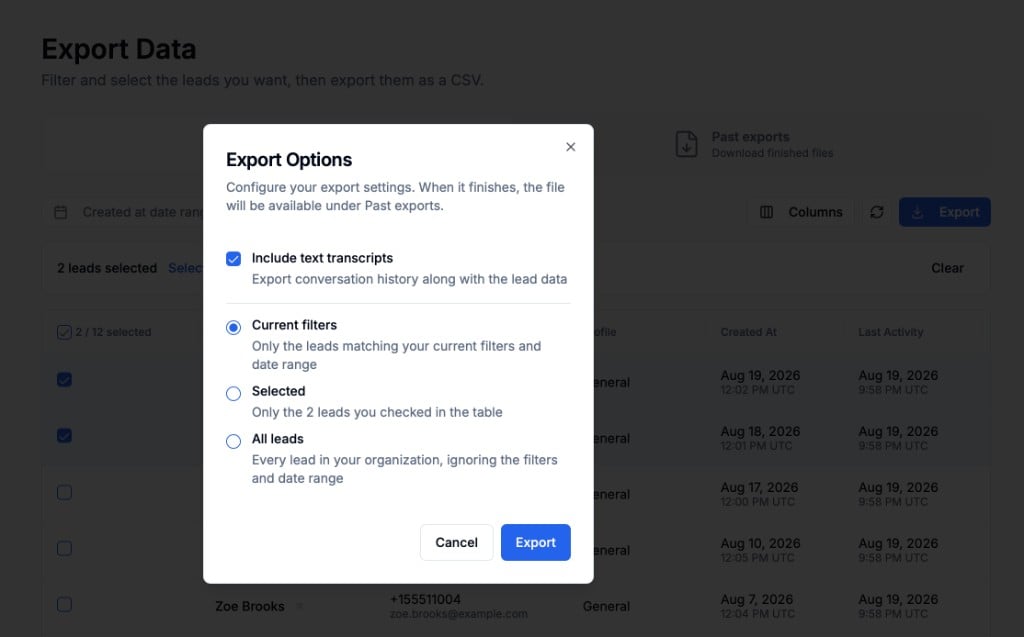
The Selected scope accepts up to 99 individually checked leads per export. To export more than that, use Current filters, or use Select all … matching your filters on the table.